Choosing a Fly Rod
You should ask yourself the following questions when selecting a custom fly rod:
- What fish species do I plan to fish for?
- What types of water will I be fishing?
- What types of flies will I be fishing?
- What features do I like in a fly rod?
- How much do I want to spend?
Once you have considered these issues, you are ready to contact me and tell me what you want in your rod.
Building a custom rod: A 7 weight Saltwater Fly Rod Example
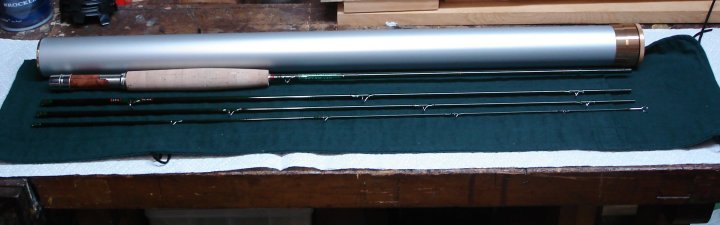
One of my clients decided on a new fly rod for saltwater Redfish. He usually fishes Mosquito Lagoon on Florida's east central coast where the water is very shallow and the fish easily spooked. The flies are small crab imitations that are stripped across the path of feeding fish. My client prefers a light 7 weight rod that can put the line out in the constant light wind that always blows in Mosquito Lagoon.
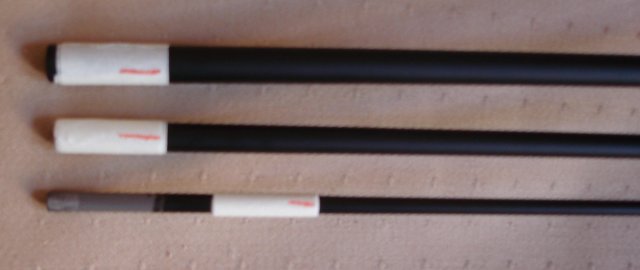
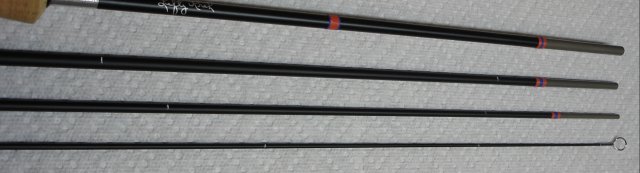
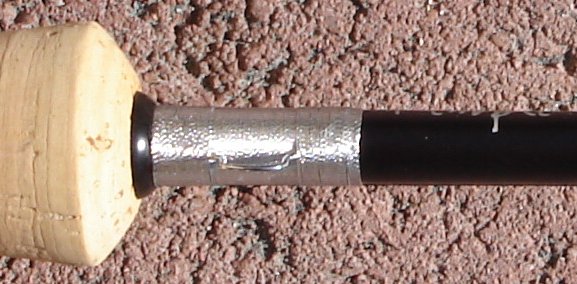
He is familiar with a 7 weight TFO TiCr rod that someone let him borrow, and he would like to have one made just for him. This Titanium Chromium rod is designed for distance and accuracy. It is finished matte black with silver inscription and fitted with spigot ferrules.
![]()
Spigot ferrules, usually made of the same material as the blank, are intended to leave a gap between the rod sections to allow the connection to "wear in." You usually cinch the sections down with a slight twisting motion to make a very strong, light connection.
Spigot ferrules require a little extra wrapping at the base of the blank to prevent any possible splitting there. The female end of the connection must also be wrapped for reinforcement-that is why the tip ferrule is not finished-because it will be over-wrapped.
The joy of buying a custom rod is that the client gets to pick the fittings and appointments. My client, a graduate of Syracuse University, wants a Syracuse logo on the rod, and wrappings to be school colors: orange with blue tipping. I proposed an NCP thread and located an official school logo decal:
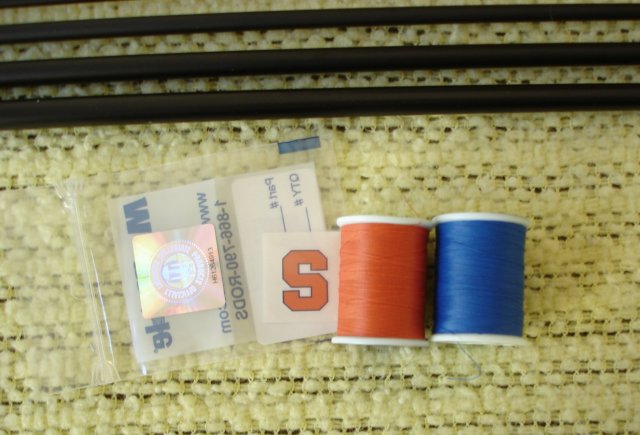
He liked the decal and the orange thread, but thought the blue (cobalt blue) was too light, so now I am looking for a darker blue thread to show him.
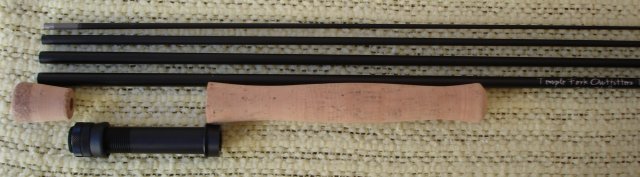
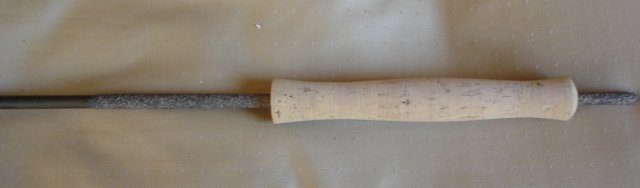
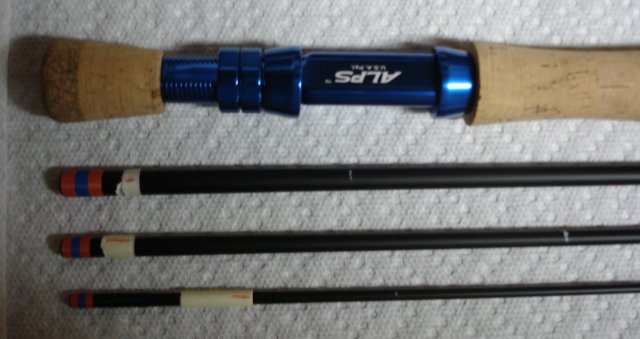
I also sent the client this picture of a mock-up for the grip, seat and cork fighting butt. The grip is a pre formed full-wells, the butt is a 1.5" model that will be attached directly to the blank. I proposed a matte black marine-grade aluminum reel seat, but he wanted a blue aluminum reel seat to match the college color scheme. So, now I am looking for a blue reel seat that will stand up to saltwater fishing.
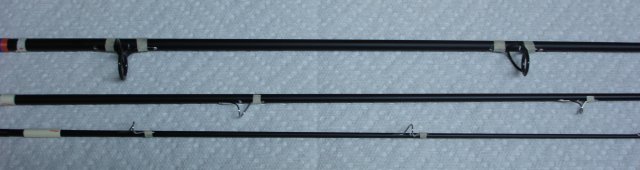
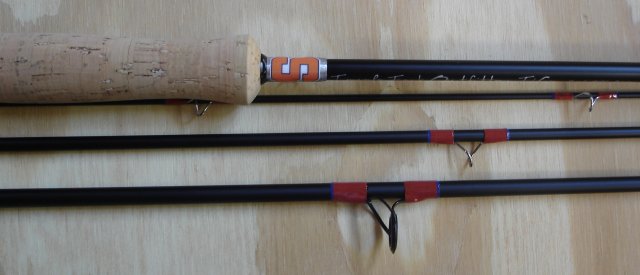
My client selected Pacific Bay chrome/stainless steel wire snake guides and 20 and 16 mm black frame stripper guides with ceramic ring inserts. Although saltwater rods usually do not have a hook keeper, he requested a large chrome/stainless steel keeper to be placed at the 6 o'clock position.

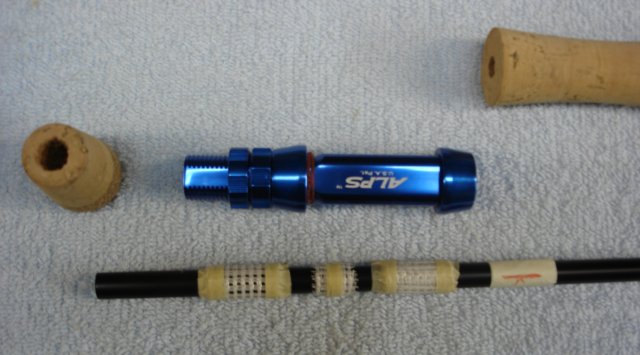
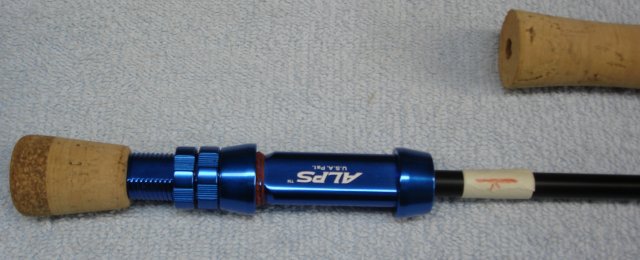
The seat arrived yesterday, it is an aluminum Alps Triangle fly seat:

It is a beautiful metallic cobalt blue and the client liked it so much, he thought it would be better to use the cobalt blue thread to match the reel seat.
Mounting the fighting butt and reel seat requires some planning and careful preparation. The fighting butt has to be reamed straight to fit properly on the butt of the blank. By carefully measuring blank diameter, I determined that a 3/8" drill bit would work. Cork is very soft and I reamed the fighting butt by hand using the drill bit rather than a cork reamer. This had to be done carefully to keep the hole straight in line and to the proper depth. This is a blind hole drilling since the last ring is not to be bored.
That's the bored fighting butt on the extreme left. Next I built-up arbors to serve as bushings to keep the reel seat properly aligned on the blank. Traditionally, rod builders used masking tape or cork to form these arbors. While both are still used today, many builders are turning to foam arbors, or as I have used here, fiberglass mesh sheetrock tape. It is very light and allows the epoxy glue to penetrate to the blank for a perfect bond. You still have to use a little tape to keep things from springing loose during the gluing-up process. Two gaps between the arbors are intended to trap additional epoxy and form direct connections between the blank and the reel seat.
I have marked the location of the bottom of the blank, where the guides will go, on a piece of marked tape. The reel seat's label tells me how to position the seat so that the reel will be in-line with the guides. This is where you have to be very careful to do a precise, good-looking job. I carefully dry-fit the pieces:
Once the fighting butt and reel seat are glued in, I will remove the marked tape from this section of the blank and install the grip.
Grip installation involves using a cork reamer to fit the pre-formed grip to the rod's taper:
Once it fits snug rod building epoxy is applied and the end result looks like this:
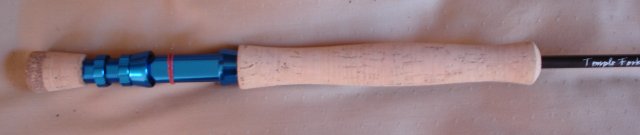
This completes the butt assembly for the moment.
The next step is to spine the remaining rod sections and attach a tiptop:

The tip is a chrome Pacific Bay large-sized model, that is preferred on saltwater and salmon rods because it will allow the line-to-leader and line-to-backing knots to pass cleanly.
The spine is that part of the blank section that is most resistant to bending. Custom rod builders usually place the guides either on the spine, or 180 degrees from it-depending on the rod's intended use. In this case, as with rods intended for saltwater or salmon, I will be placing the guides on the spine.
One of the fastest ways to start an argument among rod builders is to discuss the importance of spining a rod. Of late, many feel that spine is irrelevant and it is only necessary to build on the straightest side of the blank. Since this blank is very straight I don't need to get into that debate!
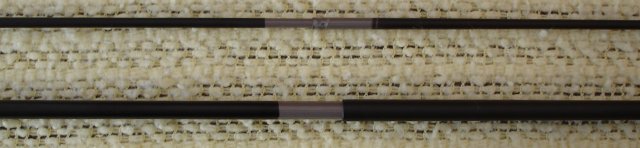
On inspecting the blank for the spining process, I noticed that although the ferrules looked like spigots, they were actually sleeved over blank. Well, you learn something new everyday!
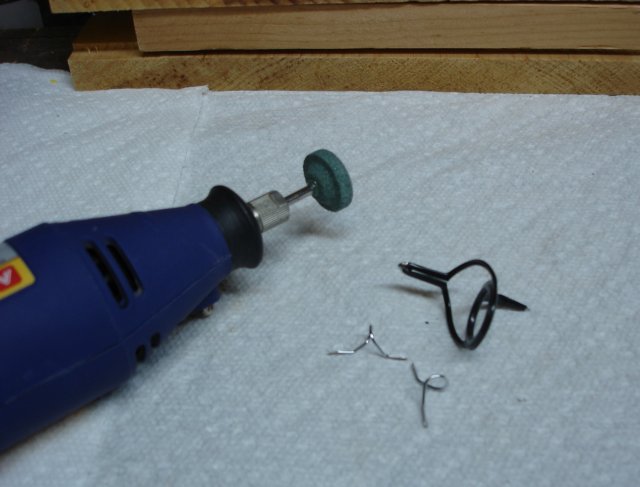
I spent a few minutes grinding the guide feet to make a ramp for the wrap thread to easily climb onto the guide foot. This makes a nice clean wrap.
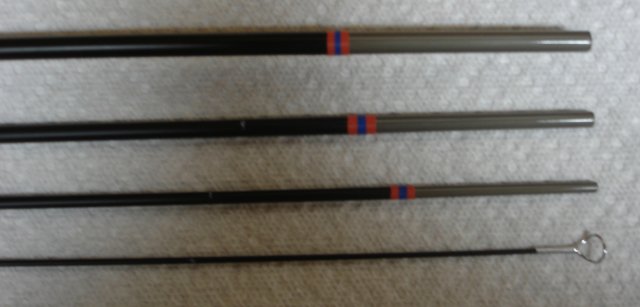
It is now August 1. One of the drawbacks to rod building is that it can cut into your fishing time if you are not careful. Since the client expects the rod in October, I had time in July to go fishing, but now I am back (the fishing was poor due to the heat and low water). The next step in the process is illustrated below. The female ferrule sleeves have been wrapped a distance of 1.5 times the diameter. This is a structural necessity to strengthen the sleeve and prevent split-outs. In the case of the tip section sleeve there was an additional inch that needed to be wrapped. I choose to wrap the additional with black thread because the added orange and blue colors would have been too gaudy. As it is with these colors, the client should have no problem locating the ferrules for disassembly. I have also preserved the spine locations and started to mark the rod for guide placement.
These are the male ferrule wraps, they serve only to transition the black finished blank from the gray ferrule areas:
In the following photo, I have marked the guide locations according to the specifications provided by the factory. The general rule of thumb for the number of guides on today's fly rods is one guide per foot plus one. That means that a 9 feet rod should have 10 guides. With some blanks you need to experiment by adding or subtracting a guide and playing with the spacing to get optimal performance, but my experience with TFO blanks is that they don't need that.
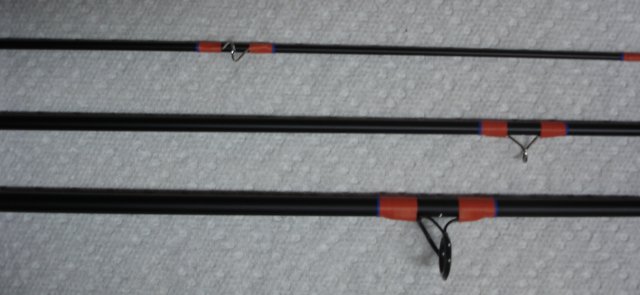
Below, I have attached the guides including the size 20 stripper and a size 16 choker. Except for the strippers, these are taped on one side to hold the guides for the wrapping process.
The next two photos show the completed orange with blue tipping wraps: At this point, the guides are in place and the guides have been aligned so the fly line will pass through them in a straight line from reel to tip.
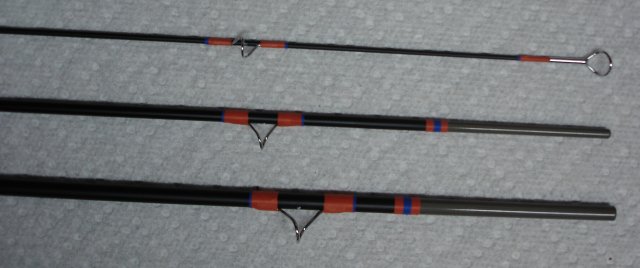
The guides are in position, but the thread has not been coated so that careless handling could knock the guides out of alignment or cause the wraps to unwind. Orange and blue are a little bight on this blank, but they are Syracuse colors and they do work with this matte black color.
Now I need to wrap the hook keeper and apply decals before the final step of applying epoxy wrap finish to the guides and decals.
Here is a photo of the hook keeper. I used a chrome metalic thread to give the rod a little bling and serve as a nice base for the Syracuse "S" decal.
Next I applied the decals. The "S" decal was coated with Thread Master epoxy, and the "Pride of the Orange" and owner's name were coated with a spray matte finish:

Here is the completed rod with 2 coats of Thread Master high build epoxy over the windings:

This rod is completed. I test casted it and it handled a WF7 beautifully! I added a bag and a tube, let the epoxy cure for 3 weeks and the customer had the rod by his October 1st deadline!